 Creating a cozy atmosphere in the house is a fascinating puzzle for every housewife. Filling the decor elements of your home’s home causes excitement and a deep sense of satisfaction when demonstrating the result to guests. Do-it-yourself things carry a special energy and reflect the care and warmth of the owners of the house. One of such special items of manual decor can be a lampshade for a floor lamp made of threads.
Materials and Tools
Creating a lampshade from threads does not require special material or temporary investments. To create a small masterpiece, you need a couple of simple and understandable components:
- Balloon. After winding the threads, the ball will be sent for drying for up to two days, so it is better to test the quality of latex in advance.
- Threads. The best in composition will be linen or wool, the color will help determine the color scheme of the interior of the room.
- PVA glue. It is better to worry about the amount of glue in advance, more than one bottle can go into one ball.
- Sugar and cartridge.
- Vaseline, any greasy or silicone cream.
- Scissors and a wide brush.

Important! When creating a floor lamp with your own hands, do not neglect safety. Threads are flammable material, so the light bulb for such a floor lamp should provide LED, and choose a ceramic cartridge.
DIY thread lampshade: step by step
- Inflate the balloon. The size of the future lampshade is desirable to determine before starting work and focus on the diameter when choosing a ball.
- Lubricate the ball with greasy cream or petroleum jelly. This is done so that when dried, the threads do not stick to the ball.
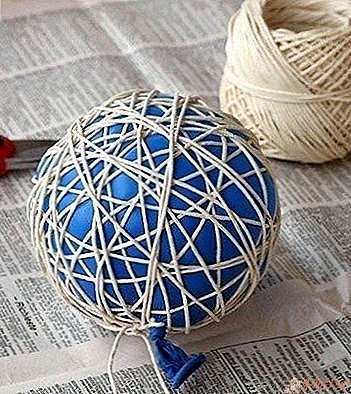
- The most painstaking stage - we wind the thread on the ball. At the top point of the ball, it is necessary to leave a circle under the cartridge, for which marking is preliminarily made on the ball with a marker. You can rewind the threads in random order without worrying too much about the sequence - in the last minutes of working with threads, you can fix all the minor flaws.
- We fix the threads with PVA glue. Lubricate the thread with a wide brush. There are no traces of glue after drying. To improve the adhesion of the threads with the ball, it can be "blown up" a little.
- We are sent for drying. A long thread is tied to the "tail" of the ball, with which the ball can be hung on a clothesline. The complete drying time of the product depends on the humidity and temperature in the house.
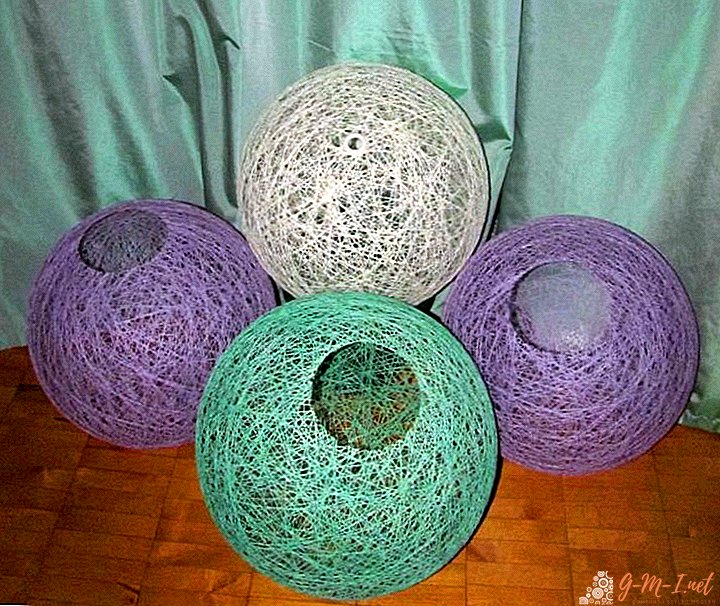
- We burst the ball and get it through the hole under the cartridge.
- For extra shine, the ball can be varnished and allowed to dry.
- We insert a bulb and a cartridge.


Important! The denser the threads lie to each other, the less light the lampshade will let through.
From threads and a balloon, you can make a single lampshade for a floor lamp, make a composition of several balloons and give them the shape of a grape brush, or arrange a Christmas garland of miniature balls. If the desired shape of the future lampshade is not a ball, then you can pre-prepare the frame from wires, cardboard or plastic bottles, and use napkins instead of threads.
Any creativity and needlework brings a lot of pleasure from the result and the process of activity, stimulates us to live beautifully and inspirationally, gives harmony and a bright mood in the house.
Leave Your Comment