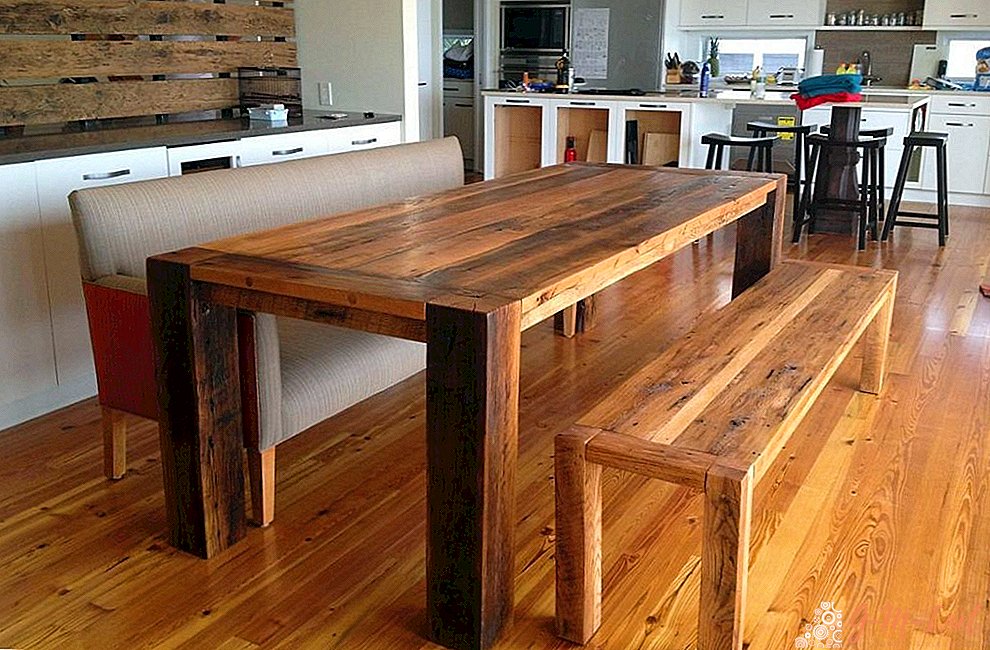
 Having made a kitchen table yourself, you can save. You only need to buy materials. The result will not be long in coming, because you will get unique furniture that will fit well into the interior of the kitchen.
How to make a kitchen table with your own hands
The process of creating a table with your own hands consists of the following steps:
- Material selection. Wood is preferred, but metal or plastic construction can be made.
- Creation of drawings. Here you need to be as careful as possible, because at this step most errors are made.
- Construction collection. All work is done according to the drawings.

What to make a table
An array of oak is best suited to create. This material has a long life and is strong. With proper operation, such tables will stand for several hundred years.
Another material is pine. It is quite soft, so it is easy to process. Such material should be chosen by novice builders. But the design will not be as strong as that made of oak. When purchasing finished furniture boards, you do not have to cut and customize the boards yourself. But a ready-made worktop will cost several times more.
Legs require the most durable and high-quality wood, since the weight of the whole structure and dishes will go exactly on them. Another reason for choosing sturdy leg material is that the table is often used as a stand if we need to glue or paint the kitchen ceiling. The design will have to withstand the weight of a person.
Wood material is pre-treated with solutions to protect against moisture. It also needs to be primed and painted. Paint color is not important, you can experiment with combinations of different coatings. If necessary, the table can always be repainted.
If you have a limited budget, the best option would be a laminated chipboard. A person will have the opportunity to choose a decorative coating (plastic, wood). When buying a sheet of the required size, the need for cutting the board with your own hands will disappear. This will save a lot of time and effort. But you need to choose the material with the most durable coating to protect it from damage.
Attention! Insulation of the edge of the countertop will also be required, since moisture that has got there will cause the material to swell and rot.

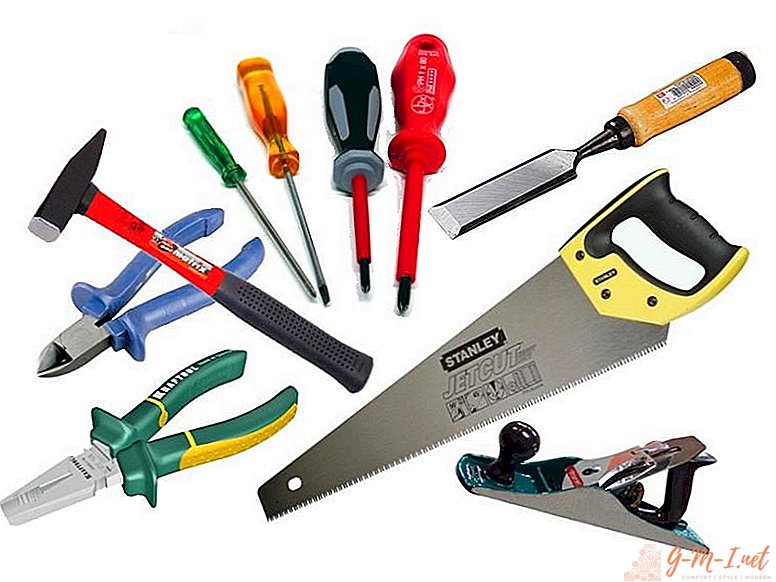
What tools are needed
To create a design, you need the following tools:
- Bulgarian.
- Plane.
- Drill and drill set.
- Roulette.
- Polished machine.
- Jigsaw.
- Screwdriver.
- Sandpaper.
- Self-tapping screws.
- Glue.
- Clamps.
- Bolts.
- Dowels.

Drawings and measurements
If the dimensions of the kitchen are standard (from 5 to 10 square meters), then 2 table options are best suited:
- Length 80, width 50 centimeters.
- Length 120, width 60 cm.
The average height in both cases will be 80 cm.
Typically, the size of the kitchen table is calculated depending on the size of the family. But you also need to add a few places for guests. If you often hold events, and the number of guests is always large, it is better to use a folding table.
Calculations are made, so the number of people in the family is multiplied by 60 (this is the perimeter needed for one person). The width of the table should be made medium (about 60 cm.). A narrow table will not fit a lot of people, and it will still be difficult to serve them, because there is not enough space. But too wide will not work either. The problem is a lot of unused space, it turns out, the material is wasted.
Important! If you opted for a round table, you need to calculate the circle and make a diagram.

Table on the kitchen yourself: step by step
The manufacturing process of a conventional kitchen table is as follows:
- First, buy a few sheets of the necessary material.
- Now you should buy ready-made legs, or cut yourself. For this, bars with a cross section of 5x5 cm are suitable. They are cleaned with sandpaper and adjusted in height. You can also make metal legs. It is desirable that they be coated with steel. To simplify assembly, use mounts.
- If the choice is stopped on wooden legs, first of all you need to assemble the frame. This will ensure a good fit. To the legs you need to attach the transverse boards. As fasteners, we use metal corners for the inside and screws for the sides.
- The distance between the legs and the edge must be at least 100 mm. Wooden legs are installed with the help of corners, and for iron we use fasteners that are sold in furniture stores.
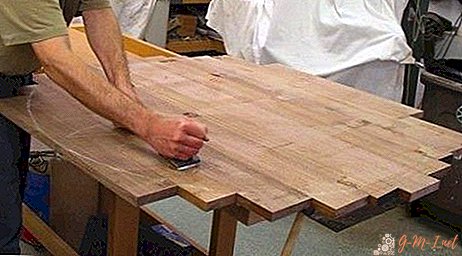
- The tree must be treated with special substances to protect it from moisture. It is also coated with a primer and paint.
- We close the sheet slices with the help of a furniture edge. An edging in the shape of the letter P made of polyvinyl chloride is well suited. Apply silicone sealant to the inside of the piping to protect it from water. We click the edging on the edge.
- Excess sealant must be removed.
- The formed ends are closed with plugs.
- When choosing a curved or round countertop, use a flexible profile. It is attached with sealant (excess is removed as soon as the glue dries). Thanks to the flexible edging, there will be only one seam on the edge, and this will improve the appearance of the structure.
- To make the design more reliable, you can use the t-shaped profile. But it requires the presence of a manual router, because you need to mill the groove right in the center of the entire edge. Such edges will hide uneven sections well. It will be excellent if there are a lot of cracks and chips on them. Such defects cannot be hidden with a simple edge.
- The design is ready. It can be used.

Attention! The above is the manufacturing process of a standard kitchen table. But there are a lot of varieties of designs, so the work process may differ in individual cases. For example, you can make a round table on one leg (supports are attached to it so that the structure is stable). It all depends on the imagination.
If you are even a little versed in construction, making a kitchen table yourself will be easier than ever. It is important to pay attention to the quality of materials, since the table will have to withstand heavy loads.
Leave Your Comment